How to accept direct bookings on your Webflow vacation rental website
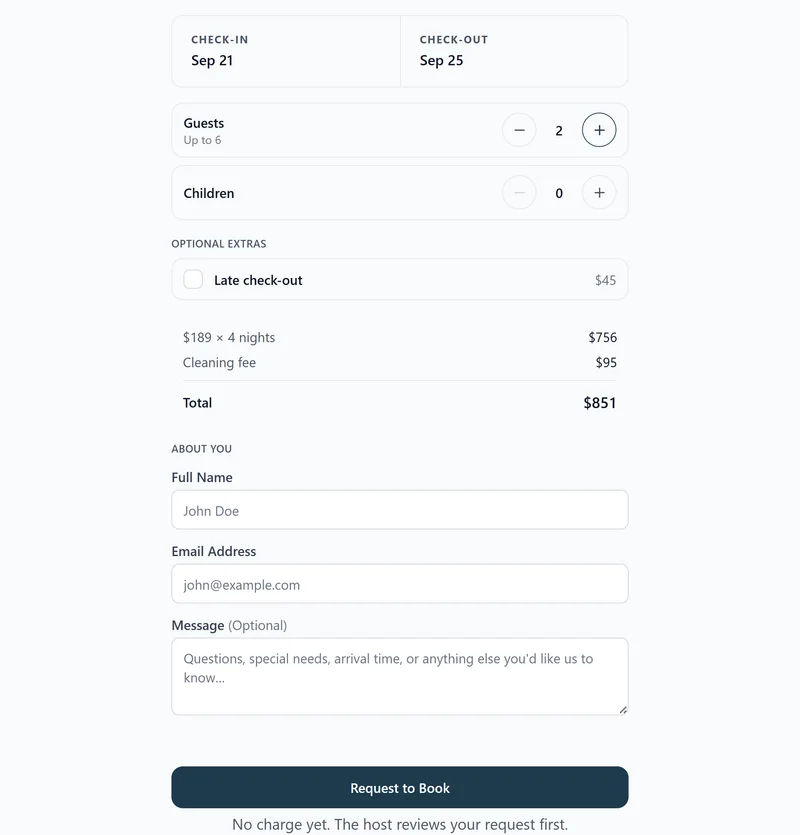
Webflow is a strong fit for polished hospitality websites, and it handles RentalBeam booking installs well because you can drop the script directly into an Embed component. Place it alongside your availability calendar, then decide whether you want inquiries only, billing later by bank transfer, cash, or card after host approval, or inline Stripe Connect card payments, and we never take a cut of what you charge.
Why add a direct-booking form to your Webflow site?
Guests who reach your own website are your highest-intent traffic. Letting them request or book a stay without leaving the page, and without paying an OTA service fee, is the most underused conversion lever in vacation rentals. A direct-booking form on Webflow turns the page from a brochure into a booking surface.
- Take booking requests directly from your own website
- Keep Airbnb, Vrbo, and Booking.com synced so the form never sells double-booked dates
- Offer coupon codes, seasonal pricing, custom fields, and booking rules
- Choose between inquiry-only, bill later by bank transfer, cash, or a card link, or inline Stripe Connect card payment
- Zero RentalBeam commission on direct bookings: hosts keep 100% of their booking revenue
What you need
- A Webflow page you can edit in Designer
- A RentalBeam Pro plan with a booking-ready calendar
- At least one connected iCal source such as Airbnb, Vrbo, or Booking.com
Pro plan required
The booking widget is part of RentalBeam Pro. We never take a cut of what you charge. When a guest pays by card, only the standard Stripe card-processing fee applies, paid to Stripe rather than RentalBeam.Setup steps
- 1
Create a booking-ready RentalBeam calendar
- Open your RentalBeam dashboard and add or open a rental.
- Connect at least one iCal source (Airbnb, Vrbo, Booking.com, Google Calendar) so the booking widget never offers double-booked dates.
- Set your nightly pricing, optional seasonal rules, minimum stay, advance notice, and prep time.
- Decide whether bookings should be inquiry-only, host-reviewed and billed later by bank transfer, cash, or a card link, or paid inline with Stripe Connect.
Choose payment flow at any time
You can start with inquiry-only or pay-later requests today and switch to inline card payments later without rebuilding the page. The widget URL stays the same. - 2
Copy the right booking widget embed for Webflow
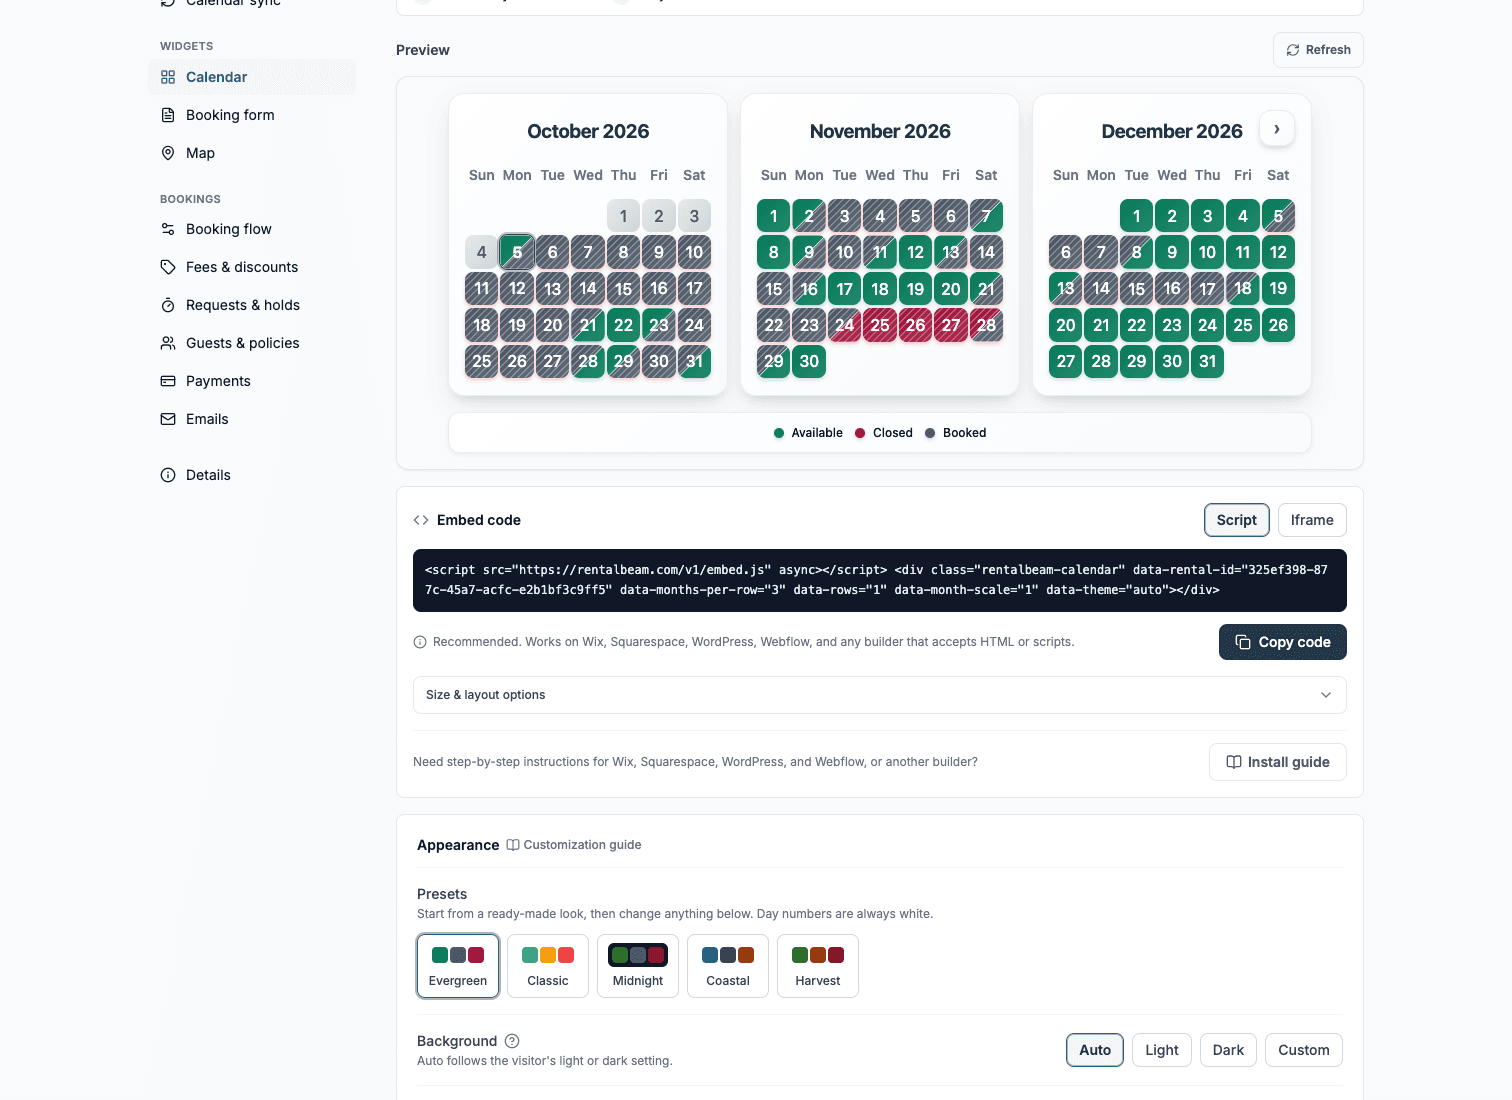
RentalBeam recommends the script embed for Webflow. Use the matching code format below as your reference.
html<script src="https://cdn.rentalbeam.com/v1/embed.js" async></script> <div class="rentalbeam-booking-form" data-rental-id="your-calendar-id"></div>Webflow generally handles the booking form script well when it is added through an Embed component.
Webflow publishing reminders
- Keep the booking form near pricing or booking copy so guests understand the next step without extra explanation.
- Avoid placing the form inside a very short fixed-height wrapper because the form needs room to grow on mobile.
- Complete a real test inquiry after publishing to verify notifications and confirm the surrounding Webflow styles are not interfering.
- 3
Paste the booking widget into Webflow
Builder-specific install steps
Use these steps to place the RentalBeam booking widget exactly where guests are ready to book.
Recommended: ScriptWebflow
Great for script installs when you can use an Embed component.
Webflow generally handles the booking form script well when it is added through an Embed component.
Use the Script tab for this builder.
- Edit the page with your booking button
- Insert an Embed component
- Paste the booking widget script snippet
- Publish and run a full inquiry test
Before you publish
- Keep the booking form near pricing or booking copy so guests understand the next step without extra explanation.
- Avoid placing the form inside a very short fixed-height wrapper because the form needs room to grow on mobile.
- Complete a real test inquiry after publishing to verify notifications and confirm the surrounding Webflow styles are not interfering.
- 4
Publish and submit one live test inquiry
Where to place the booking widget on the page
- Keep the booking form near pricing or booking copy so guests understand the next step without extra explanation.
- Avoid placing the form inside a very short fixed-height wrapper because the form needs room to grow on mobile.
- Complete a real test inquiry after publishing to verify notifications and confirm the surrounding Webflow styles are not interfering with the embed.
Treat the booking form as the page's primary CTA
High-converting direct-booking pages put the booking form directly next to or under the availability calendar so guests can check dates and request a stay in a single visual area.No commission on your direct bookings
RentalBeam Pro never takes a cut of what you charge: your booking revenue is 100% yours. When a guest pays by card through RentalBeam, the only deduction is the standard Stripe card-processing fee, which is paid to Stripe, not RentalBeam.
- No commission: RentalBeam never takes a cut of your booking revenue.
- No RentalBeam booking or application fee on guest card payments.
- Card payments carry only the standard Stripe card-processing fee; inquiry-only and pay-later bookings have no per-transaction cost.