How to accept direct bookings on your WordPress vacation rental website
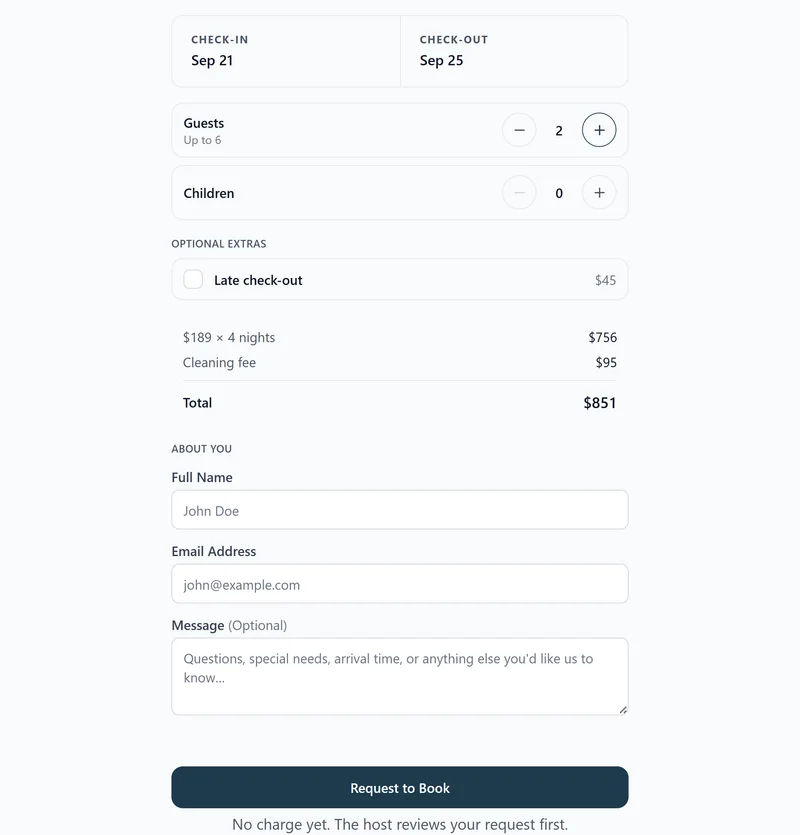
WordPress is a strong fit for direct bookings because you can drop a real booking form straight into the same page where guests are already checking availability. This guide covers the cleanest WordPress setup path: connect a calendar, paste the RentalBeam booking widget into a Custom HTML block, and decide whether you want inquiries only, bill-later by bank transfer, cash, or card, or full Stripe Connect card payments, and we never take a cut of what you charge.
Why add a direct-booking form to your WordPress site?
Guests who reach your own website are your highest-intent traffic. Letting them request or book a stay without leaving the page, and without paying an OTA service fee, is the most underused conversion lever in vacation rentals. A direct-booking form on WordPress turns the page from a brochure into a booking surface.
- Take booking requests directly from your own website
- Keep Airbnb, Vrbo, and Booking.com synced so the form never sells double-booked dates
- Offer coupon codes, seasonal pricing, custom fields, and booking rules
- Choose between inquiry-only, bill later by bank transfer, cash, or a card link, or inline Stripe Connect card payment
- Zero RentalBeam commission on direct bookings: hosts keep 100% of their booking revenue
What you need
- A WordPress page you can edit
- A RentalBeam Pro plan with at least one booking-ready calendar
- At least one connected iCal source so the widget never sells double-booked dates
Pro plan required
The booking widget is part of RentalBeam Pro. We never take a cut of what you charge. When a guest pays by card, only the standard Stripe card-processing fee applies, paid to Stripe rather than RentalBeam.Setup steps
- 1
Create a booking-ready RentalBeam calendar
- Open your RentalBeam dashboard and add or open a rental.
- Connect at least one iCal source (Airbnb, Vrbo, Booking.com, Google Calendar) so the booking widget never offers double-booked dates.
- Set your nightly pricing, optional seasonal rules, minimum stay, advance notice, and prep time.
- Decide whether bookings should be inquiry-only, host-reviewed and billed later by bank transfer, cash, or a card link, or paid inline with Stripe Connect.
Choose payment flow at any time
You can start with inquiry-only or pay-later requests today and switch to inline card payments later without rebuilding the page. The widget URL stays the same. - 2
Copy the right booking widget embed for WordPress
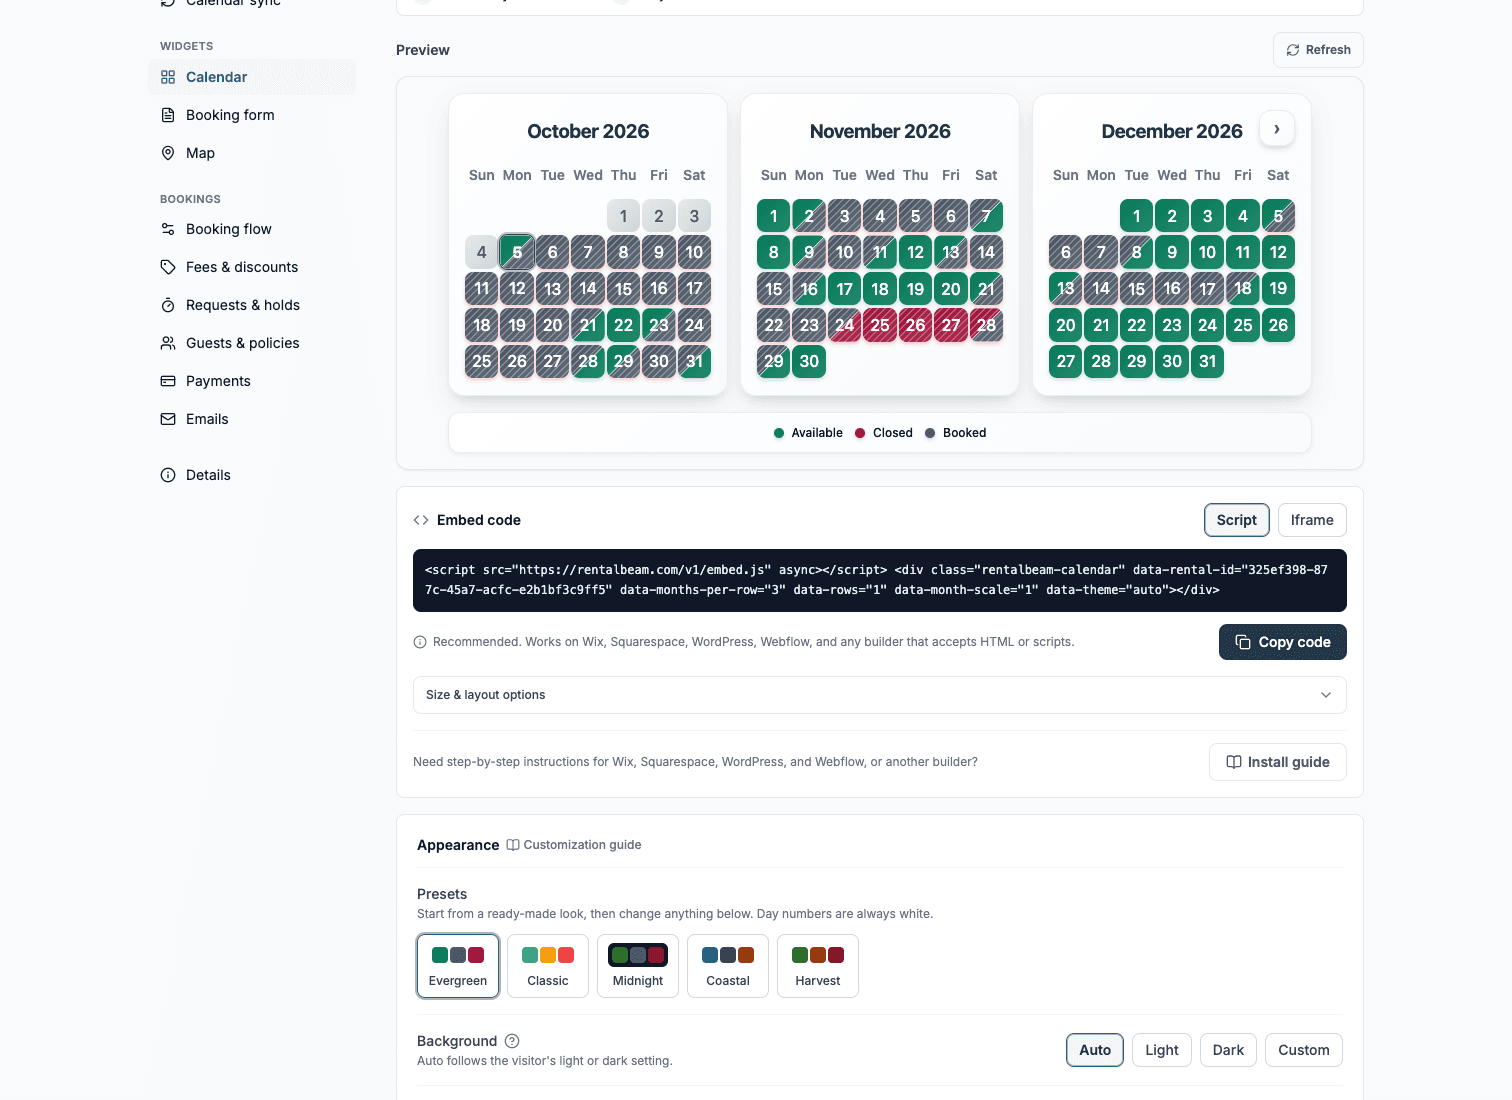
RentalBeam recommends the script embed for WordPress. Use the matching code format below as your reference.
html<script src="https://cdn.rentalbeam.com/v1/embed.js" async></script> <div class="rentalbeam-booking-form" data-rental-id="your-calendar-id"></div>WordPress usually allows the booking form script directly, so you can keep the best loading and mobile behavior.
WordPress publishing reminders
- Place the booking form directly below the availability calendar or next to your primary booking copy so the page reads as one clear booking flow.
- If your theme adds very tight column widths, give the booking form section its own full-width row so the fields do not feel cramped.
- Always submit one live test inquiry after publishing so you can confirm the widget renders correctly and the notification email arrives.
- 3
Paste the booking widget into WordPress
Builder-specific install steps
Use these steps to place the RentalBeam booking widget exactly where guests are ready to book.
Recommended: ScriptWordPress
Best fit when you can add a Custom HTML block or plugin.
WordPress usually allows the booking form script directly, so you can keep the best loading and mobile behavior.
Use the Script tab for this builder.
- Open the page with your booking button
- Insert a Custom HTML block where the booking form should appear
- Paste the booking widget embed code
- Update the page and submit a live test inquiry
Before you publish
- Place the booking form directly below the availability calendar or next to your primary booking copy so the page reads as one clear booking flow.
- If your theme adds very tight column widths, give the booking form section its own full-width row so the fields do not feel cramped.
- Always submit one live test inquiry after publishing so you can confirm the widget renders correctly and the notification email arrives.
- 4
Publish and submit one live test inquiry
Where to place the booking widget on the page
- Put the booking widget directly below the availability calendar so guests can check dates and request a stay in one flow.
- Avoid narrow theme columns around the widget: give the booking form a full-width or wide section so fields breathe on mobile.
- After publishing, submit one real test inquiry to confirm notification emails arrive and the secure host review link works.
Treat the booking form as the page's primary CTA
High-converting direct-booking pages put the booking form directly next to or under the availability calendar so guests can check dates and request a stay in a single visual area.No commission on your direct bookings
RentalBeam Pro never takes a cut of what you charge: your booking revenue is 100% yours. When a guest pays by card through RentalBeam, the only deduction is the standard Stripe card-processing fee, which is paid to Stripe, not RentalBeam.
- No commission: RentalBeam never takes a cut of your booking revenue.
- No RentalBeam booking or application fee on guest card payments.
- Card payments carry only the standard Stripe card-processing fee; inquiry-only and pay-later bookings have no per-transaction cost.