

RentalBeam Docs
How to embed and configure the availability calendar, booking widget, and map on your vacation rental website.
New here? Start in this order
Five steps take you from an empty account to a rental that shows live dates and takes paid bookings. Do them in this order; each one builds on the last.
- 1Add your booking sites
Add a rental, paste in its link from Airbnb, Booking.com, Vrbo or any other booking site, and wait until it shows "Up to date".
- 2Put the calendar on your site
Copy its website code onto your website. From here on your availability updates itself.
- 3Take bookings
On Pro, turn on the booking form so guests can request a stay from your own site instead of an email thread.
- 4Get paid
Connect a payout account, then choose whether guests pay in your booking form or later from a payment link you send.
- 5Know what gets emailed
See every email you and your guests receive for a rental, and switch the optional ones on or off.
Quick start
Paste an iCal URL as a source, copy this snippet with your rental ID, and paste it into your site:about two minutes end to end. See the full quick start guide.
<script
  src="https://cdn.rentalbeam.com/v1/embed.js"
  async
></script>

<div
  class="rentalbeam-calendar"
  data-rental-id="YOUR-RENTAL-ID"
></div>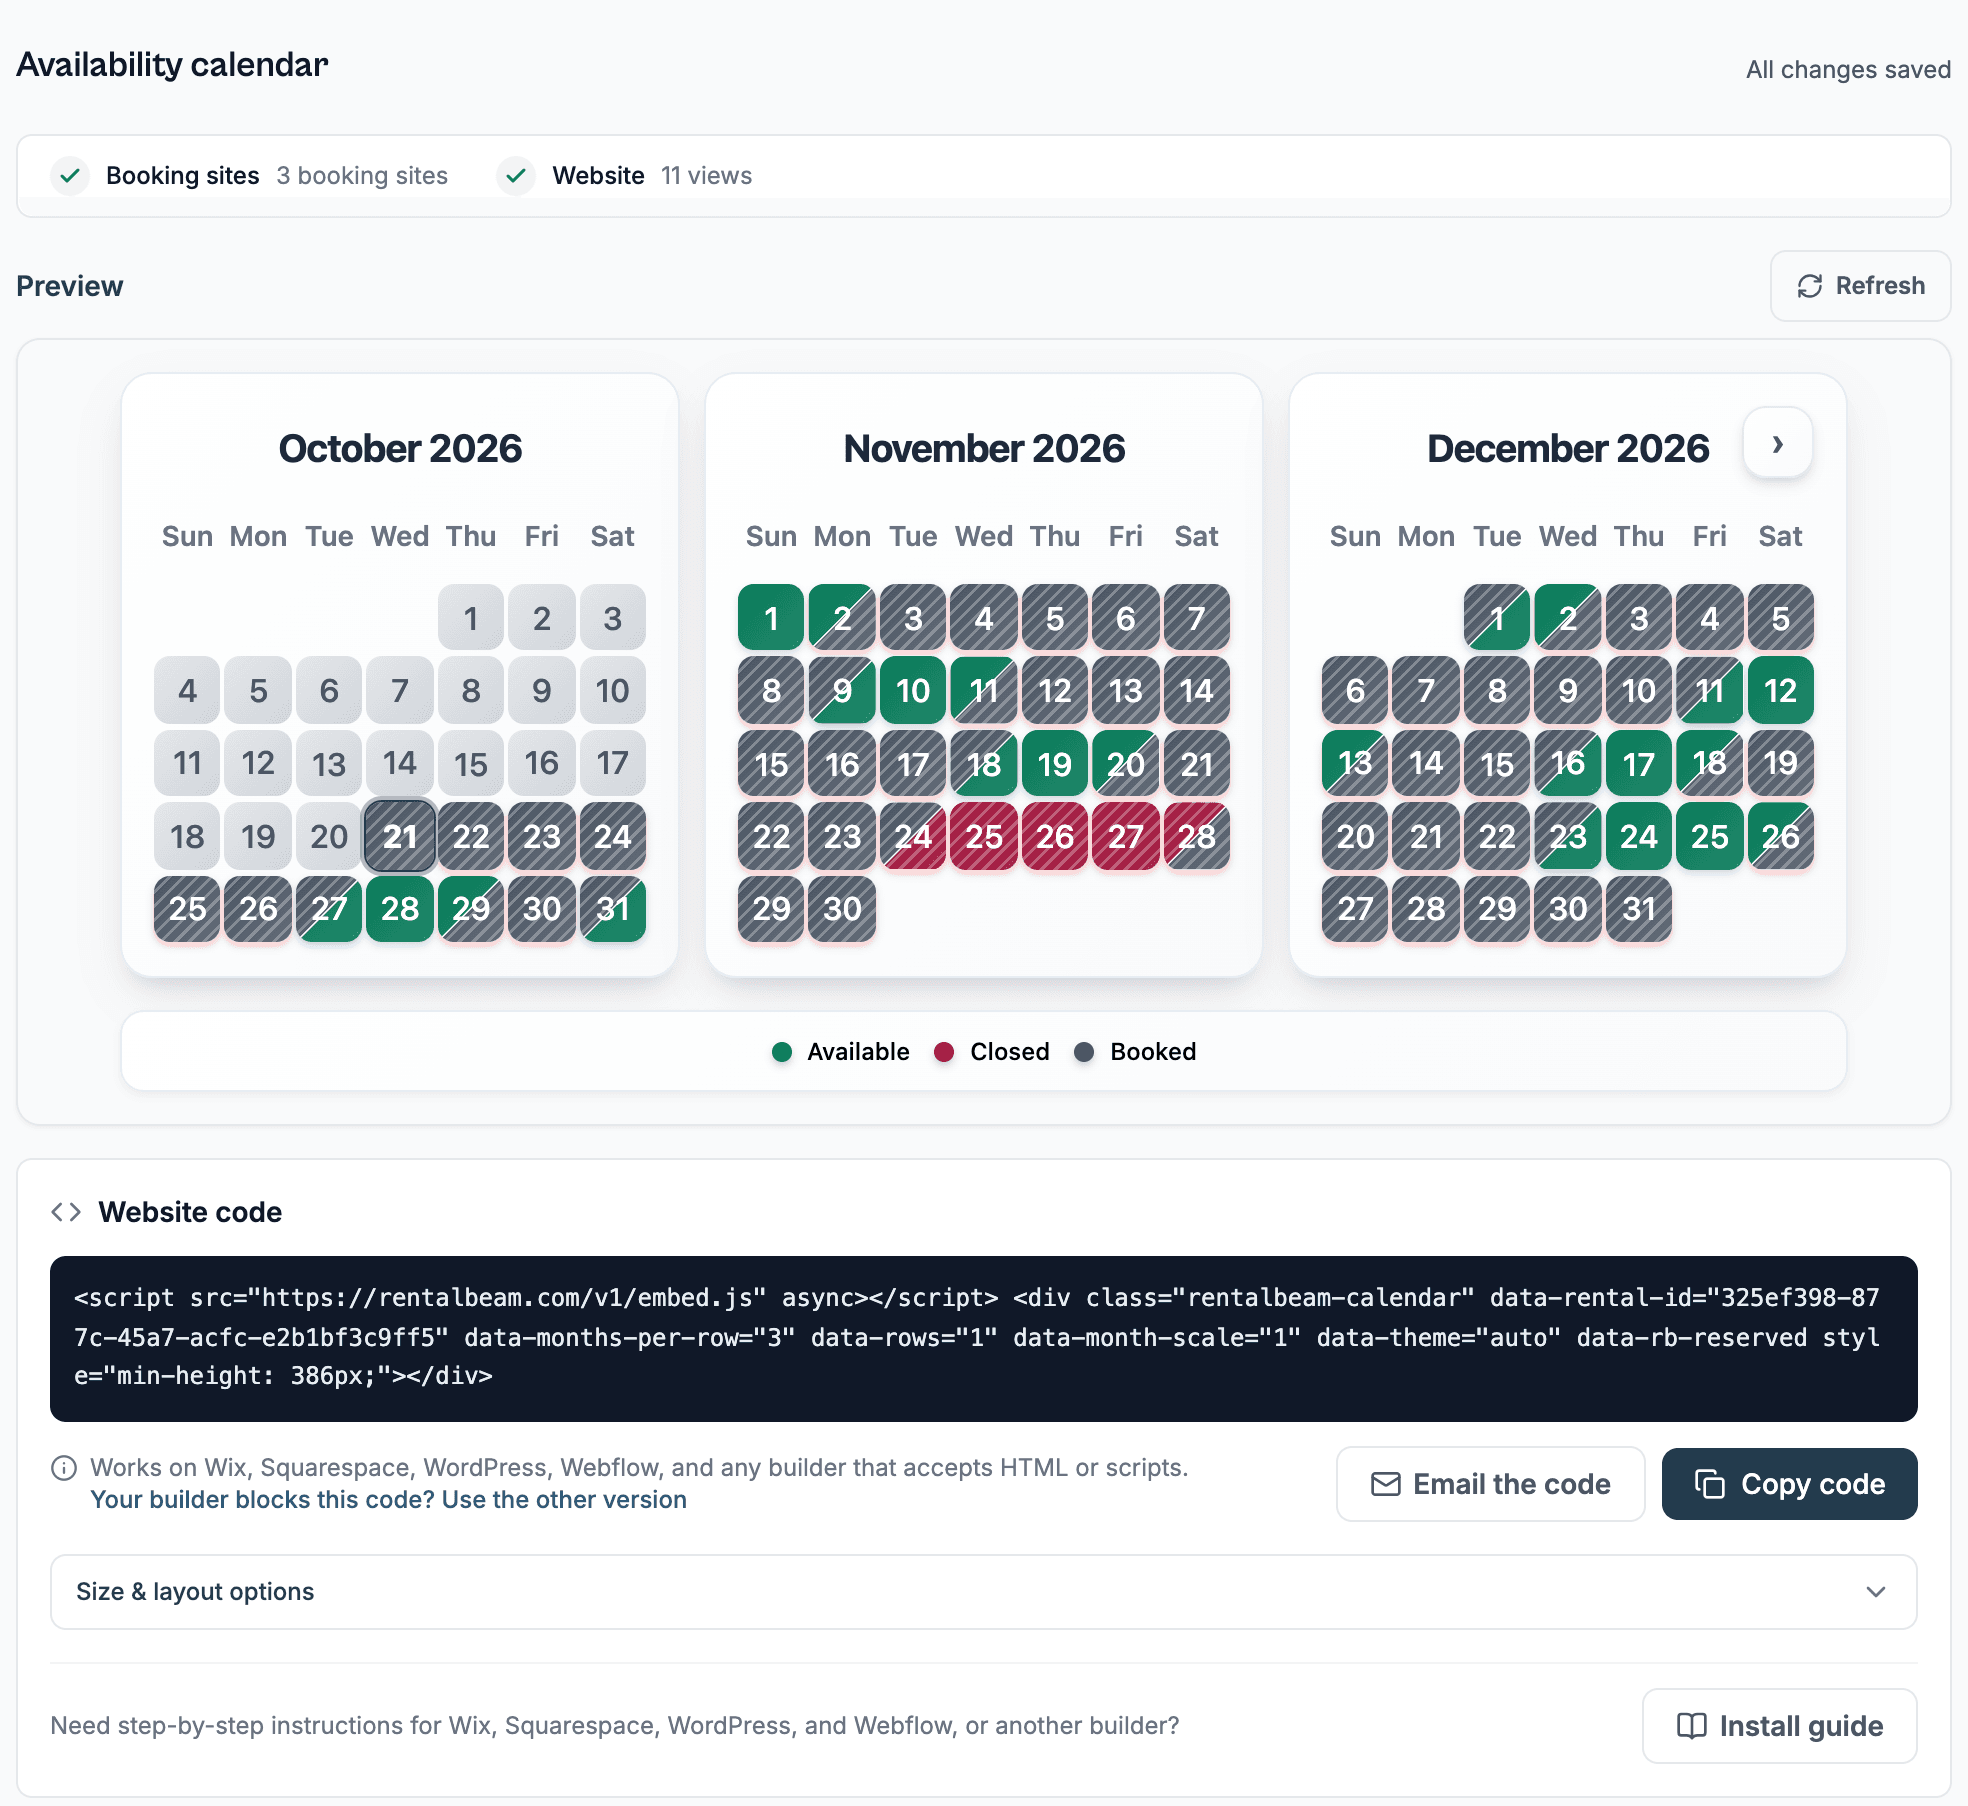
Availability Calendar
Embed a live availability calendar on any website. Syncs from Airbnb, Booking.com, Vrbo, and any iCal source.
Booking Widget
Add a direct booking form to your site. Guests submit requests, you confirm, with optional online payments through Stripe Connect.
Getting paid
Take online payments through Stripe Connect, send a payment link for a balance, and control the emails that chase it.
Map Widget
Show a rental's location on your website with a curated, theme-matched map. Build and preview on every plan; embedding it on your website needs Plus or Pro.
iCal Sync
Connect Airbnb, Vrbo, or any iCal feed so availability stays accurate across all channels automatically.
Site Builders
Step-by-step embed guides for Wix, Squarespace, WordPress, Webflow, and any builder that accepts HTML or scripts.
Plans & limits
What Free, Plus, and Pro each include, how rentals are counted, and what happens when you reach a limit.
Developer Reference
postMessage events, embed parameters, and integration hooks for building custom experiences on top of RentalBeam widgets.
Can't find what you're looking for? Contact support and we'll get you sorted.