

How to add a map widget to your Webflow vacation rental website
Webflow is a strong fit for polished vacation rental websites because it gives you layout control without forcing a full PMS workflow. RentalBeam fits neatly into that setup: save your rental's location, paste the script embed into a Webflow Embed component, and publish a map that matches your site.
Why add a map to your Webflow site?
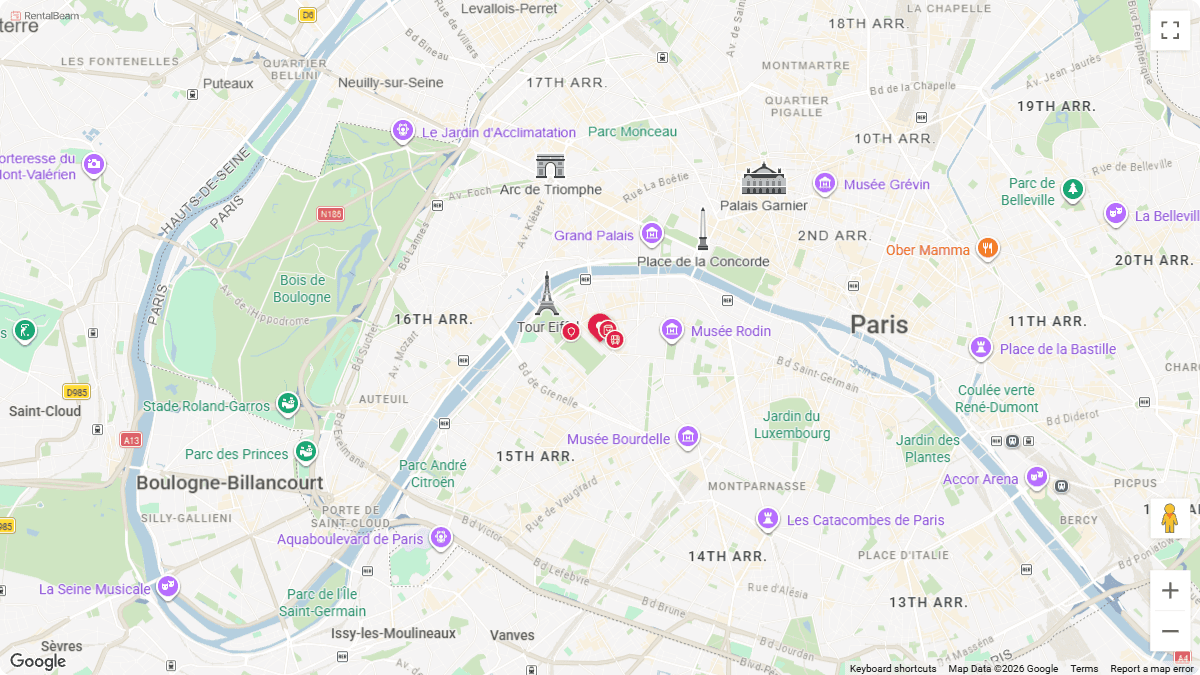
A guest deciding between listings wants to know exactly where they would be staying before they inquire. A styled map that matches your site removes that guesswork, shows nearby highlights you choose to share, and reads as a real, cared-for listing rather than a bare address. See the map widget page for a closer look at the themes and pin styles.
- Show your rental's exact location, or a privacy-friendly approximate area
- Match your site with five curated themes and a brand-colored pin
- Add nearby highlights - attractions, restaurants, transit - guests will actually use
- Works the same way on a single rental map or a collection map with several pins
What you need
- A Webflow page you can edit in Designer
- A rental with its location saved in RentalBeam (Location tab)
- A map style chosen in the dashboard Maps tab (theme, pin, and signature color)
Every plan can build one
Every RentalBeam plan, including Free, can build, style, and live-preview a map in the dashboard Maps tab. Embedding it on your own website needs Plus or Pro - see pricing for details. On Free, the embed still renders on RentalBeam's own pages, and any other site shows a neutral "Map unavailable" notice instead of an upgrade prompt.Setup steps
- 1
Save your rental's location
- Open the rental in your RentalBeam dashboard and go to its Location tab.
- Search for the address, or drag the pin directly on the map to fine-tune the exact spot.
- Choose exact-pin mode (guests see your real location, plus any nearby highlights) or approximate-area mode (a shaded circle, and your exact coordinates never reach the guest).
Nearby highlights are optional
On exact-pin maps, you can add nearby highlights - attractions, restaurants, transit stops - with icons and short notes, also edited on the Location tab.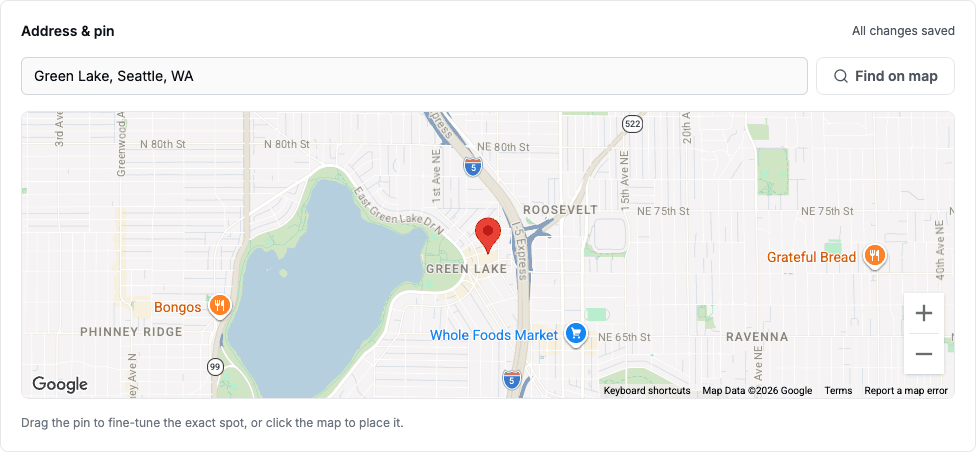
Save the location on the Location tab before it can appear on a map. - 2
Style your map and copy the embed for Webflow
Open the Maps tab in the dashboard and pick a theme (Signature, Terrain, Coastal, Midnight, or Minimal - a fixed choice that never follows a visitor's device theme), a pin style (Teardrop, Dot, or Photo), and a signature color that auto-matches your booking accent or a custom hex.
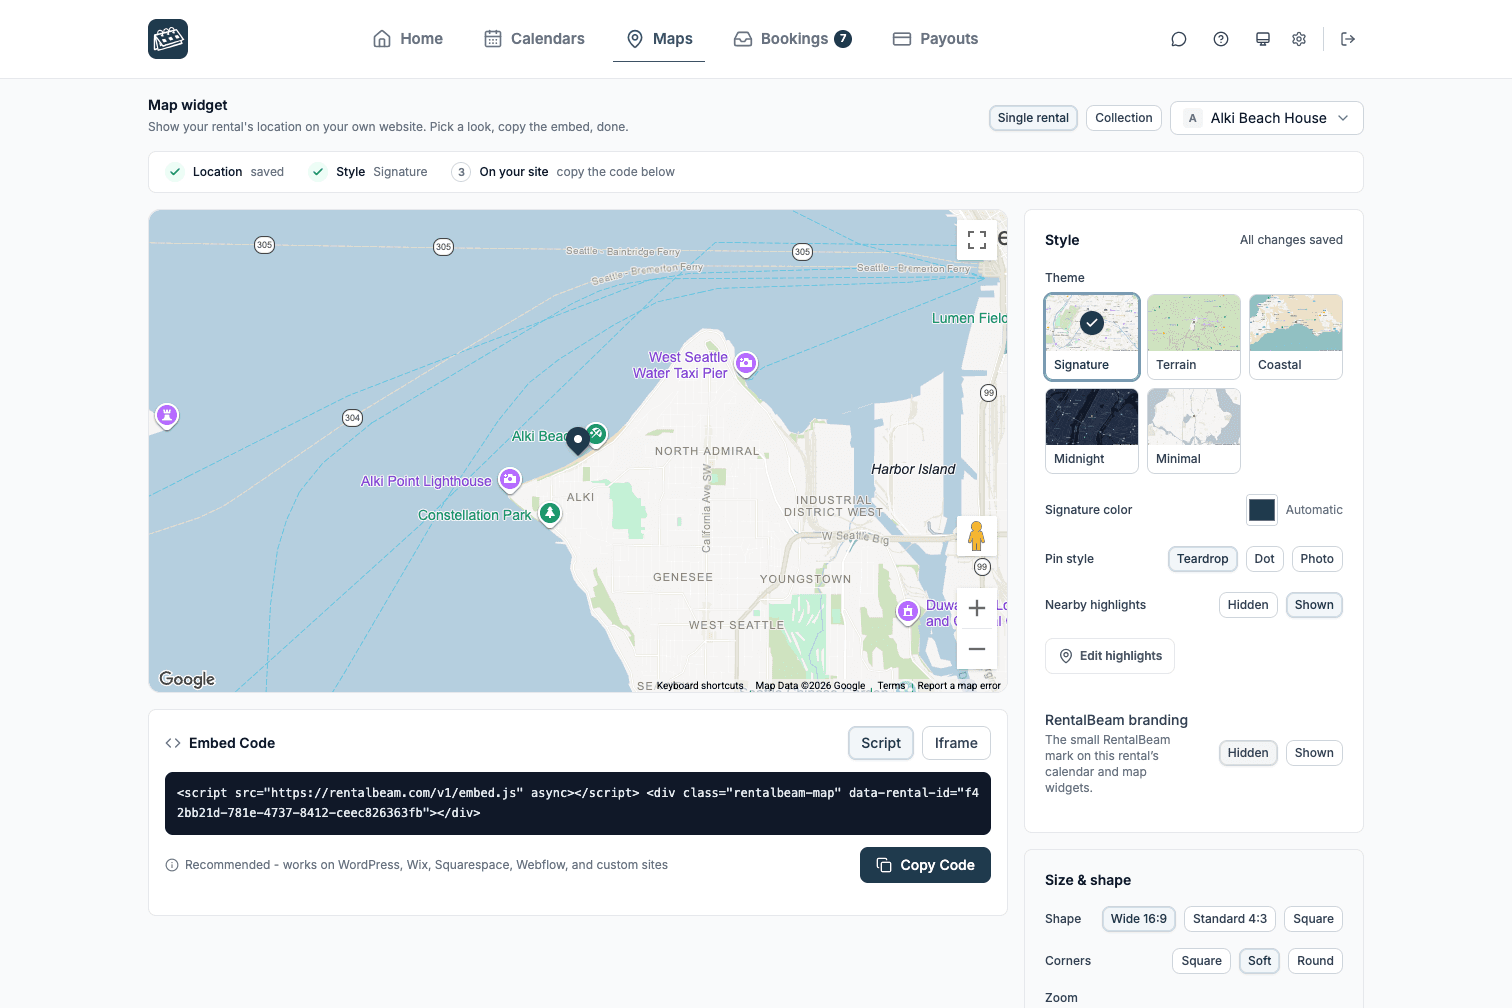
The Maps tab builder - pick a look, then copy the embed code at the bottom. RentalBeam recommends the script embed for Webflow. Use the matching code format below as your reference.
html<script src="https://cdn.rentalbeam.com/v1/embed.js" async></script> <div class="rentalbeam-map" data-rental-id="your-rental-id"></div>Webflow supports custom embed components, so the standard script snippet is usually the cleanest way to place the map. The embed code also accepts optional attributes for aspect ratio, corner radius, and default zoom - see the map widget docs for the full reference.
Webflow publishing reminders
- Use an Embed component on the final page where guests look for your location rather than burying it in a secondary CMS region.
- Check the published site after changing the theme, pin style, or aspect ratio in the Maps tab so the live embed reflects the newest choice.
- Keep enough container width around the map so it does not collapse into an awkward narrow column.
- 3
Paste the map into Webflow
Builder-specific install steps
Use these steps to place the RentalBeam map exactly where guests look for your location.
Recommended: ScriptWebflow
Great for script installs when you can use an Embed component.
Webflow supports custom embed components, so the standard script snippet is usually the cleanest way to place the map.
Use the Script tab for this builder.
- Open the target page in Designer
- Drag in an Embed component
- Paste the RentalBeam map script snippet
- Publish the site and verify the map on the live page
Before you publish
- Use an Embed component on the final page where guests look for your location rather than burying it in a secondary CMS region.
- Check the published site after changing the theme, pin style, or aspect ratio in the Maps tab so the live embed reflects the newest choice.
- Keep enough container width around the map so it does not collapse into an awkward narrow column.
- 4
Publish and verify the map
Where to place the map on the page
- Place the map near your address, directions, or nearby-attractions copy so guests find it naturally.
- Give the map a comfortably wide container so the chosen aspect ratio does not feel cramped.
- Always verify the published page after Webflow layout changes so the live embed still has enough space.
Treat the map as supporting proof, not the hero
High-converting listing pages put the map near the address, directions, or a short neighborhood description - close enough that guests notice it without it competing with your main booking call to action.Already have the calendar widget on Webflow?
If you already added the RentalBeam availability calendar to your Webflow site, the map embeds the same way - the same script tag, the same paste-and-publish workflow, just a different container. Read the Webflow calendar guide if you have not set that up yet.